Friday, January 20, 2017

Lift Me Up

I am having way too much fun playing with the new products from the Occasions Catalog.  I used the stamp set Lift Me Up (#142893 wood mount/#142896 clear mount) for this card. It is one of my favorites.  The possibilities with this set are endless.  And I've only just begun.  This stamp set also has a set of  coordinating thinlits dies, Up & Away (#142748). The thinlits can also be used without the stamps, making them even more versatile.  How exciting is that?!  When you purchase the stamp set and thinlits as a bundle (#144711 wood mount or #144712 clear mount) you will save 10%. 


I almost forgot.  The matching Designer Series Paper pack, Carried Away (#143608) was also used on this card.  This is a fabulous item you can receive as a free gift when you place a $50 order (before shipping and tax), courtesy of the Sale-A-Bration promotion going on until March 31st.  

Click here to view details

I'm sure you will have as much fun as I am having with this fabulous set.  Happy Stamping!!

My product list:

Cardstock: Night of Navy, Mint Macaron, Peekaboo Peach, Whisper White
Designer Series Paper: Carried Away (Sale-A-Bration)
Ink: Night of Navy
Stamps: Lift Me Up
Accessories: Up & Away Thinlits Dies, Brights Sequin Assortment


Wednesday, January 18, 2017

It's Sale-A-Bration!!

It's that time of year for... a Sale-A-Bration!!!

Do you love free products? From now until March 31 you can earn a free gift from the Sale-A-Bration catalog for every $50 you purchase (total before shipping and tax).  If you purchase $100 in product you can choose 2 free gifts from the SAB catalog.  $150 will get you 3 free gifts from the SAB catalog, and so on.  This fabulous promotion ends March 31, so click the images below and start shopping.


Choose free items from the Sale-A-Bration Catalog


Shop new product from the Occasions Catalog

Watch this video for inspiration from the current Occasions catalog


     If you do not currently have a Stampin' Up! demonstrator and would like an Occasions or Sale-A-Bration catalog, I'd be happy to get one to you.  Email me your name and address and I'll get them sent out.


Stampin' Up! Open House

     It's time to dust the cobwebs off and get back to work!!  I have been away from Stampin' Up! for two years now and am finally ready to get back to paper crafting.  I've recently joined Stampin' Up! (again) as a new demonstrator and what better way to kick off my business then with an Open House!  


Open House
Saturday, January 28th
2pm - 7pm
3135 W Tycana Rd

New products and samples on display
Make 'n Takes
Door Prizes
Refreshments


Call if you have any questions
621-8655

Thursday, April 3, 2014

Candy Wrapper Box

Supposedly Spring has arrived, although you wouldn't know it to look outside.  Regardless, I decided to do a project that reminds me of Spring.  And what better occasion than Easter?!  I found these cute candy wrapper boxes on many different sites, so I don't know where they originated from.  However, I found some easy instructions here.


 These are really a cute and extremely simple project to do.  And gives you yet one more reason to purchase the Envelope Punch Board (#133774).  This tool is so versatile.  Obviously it makes envelopes ranging in many different sizes, but as you can see it does more than that.  

I love all the 2013-2015 In Colors, which are beautiful spring colors, so decided to do a box in each.  So stinkin' cute!!

Stampin' Up! products used:

Paper: 2013-2015 In Colors Designer Series Paper Stacks(#130136); Whisper White cardstock(#100730)
Ink: 2013-2015 In Colors - Baked Brown Sugar, Coastal Cabana, Crisp Cantaloupe, Pistachio Pudding, and Strawberry Slush (#131204)
Stamps: Teeny Tiny Wishes (#128748)
Misc.: 1/2" Seam binding Very Vanilla (#120999); Decorative Label Punch (#120907)

Instructions for the custom labels I stamped the sentiment on are below:


Step 1 Using the Decorative Label punch I punched out a piece of whisper white cardstock.


Step 2 Insert one end back into the side of the punch like so.


Step 3 Then flip around and insert the other end and punch again.  


Now you have two small adorable labels you can stamp a sentiment on such as one from the Teeny Tiny Wishes stamp set.

Saturday, March 29, 2014

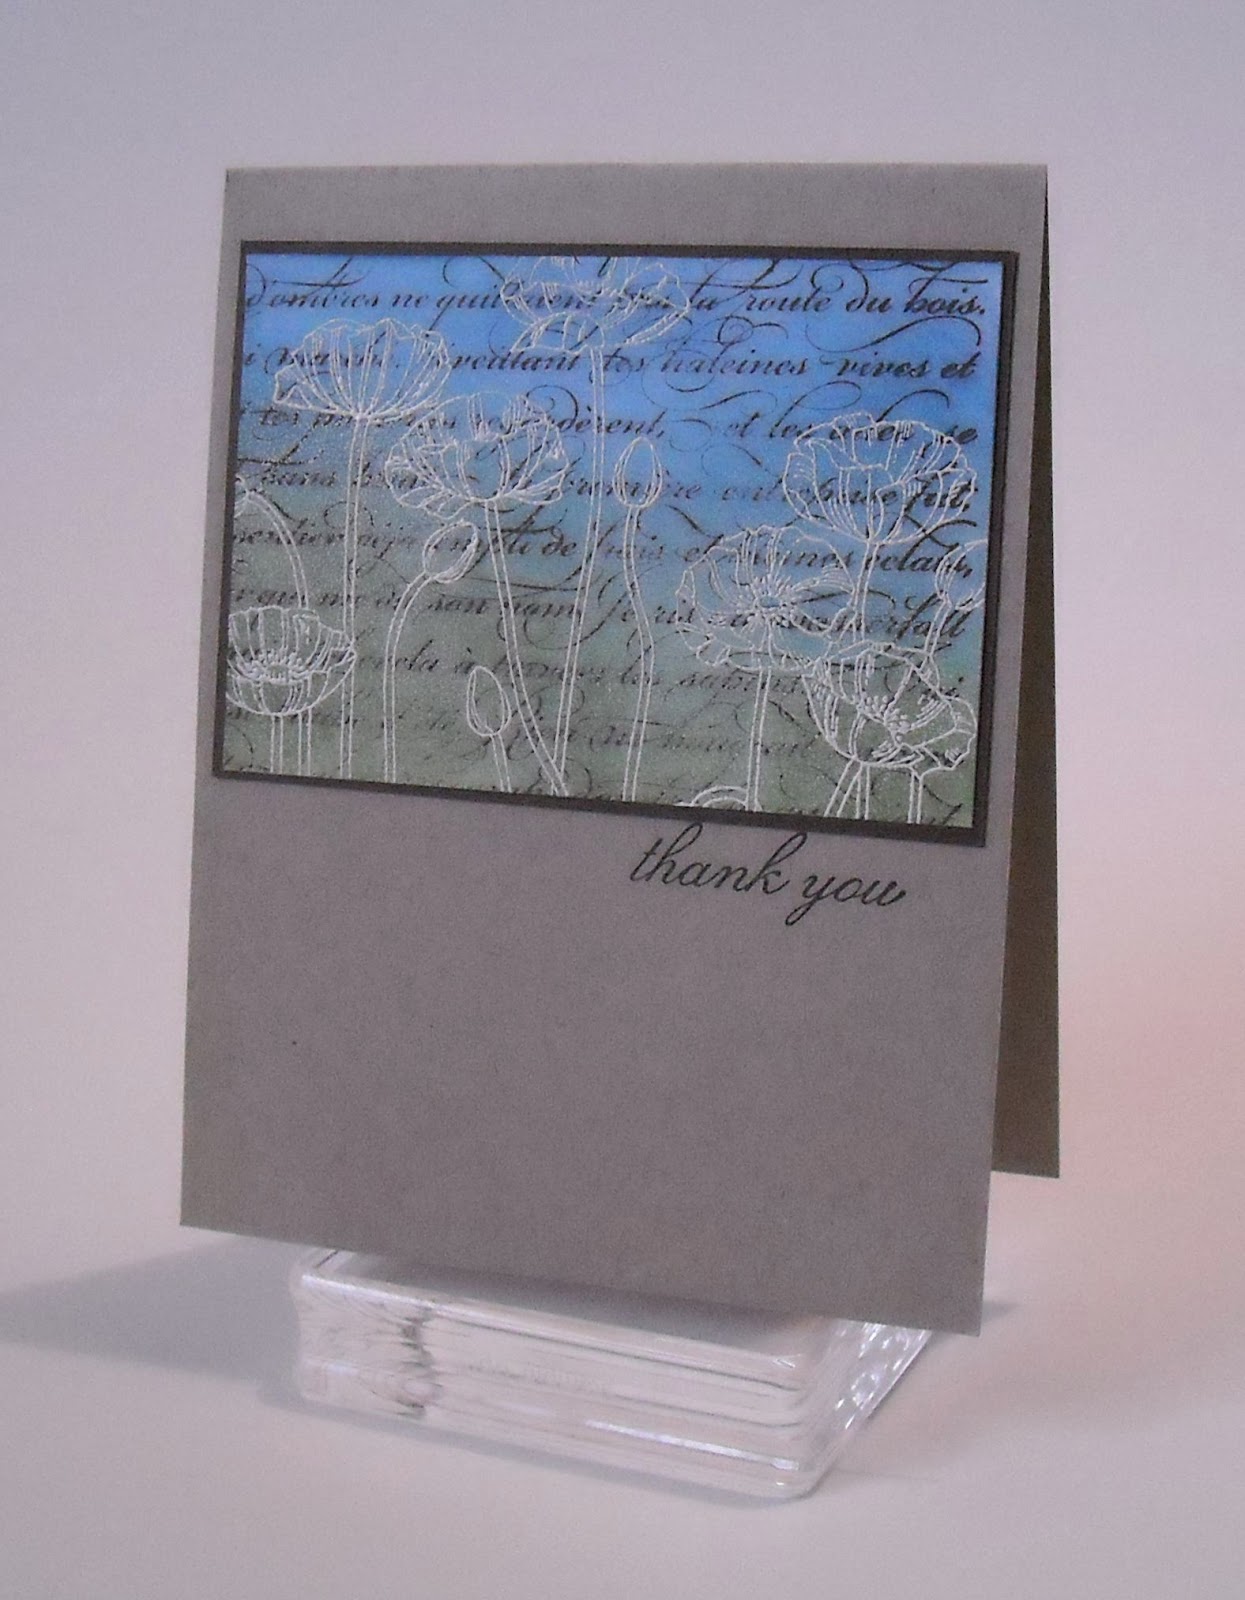
Pleasant Poppies

I love finding sketch challenges online.  It's really helping to get me back in the groove of making cards.  So today I want to share with you another sketch challenge I got from CAS(E) this sketch #70.  The idea to do this technique has been swirling around in my head for a while, just wasn't sure exactly how to lay it out on a card until now.  Thank you ladies (at CASE this sketch!) for your inspiration

http://www.casethissketch.blogspot.com/2014/03/case-this-sketch-70.html


Love the Pleasant Poppies stamp set


I forgot to use my Embossing Buddy, which minimizes the static when applying embossing powder.  So extra embossing powder was left around the flowers.  Even so, this time I think my  mistake still looks good.

Have you ever had a "mistake" improve your project?

Stampin' Up! products used:
Cardstock: Crumb Cake(120953); Early Espresso(119686); Whisper White(100730)
Ink: Early Espresso(126974) ; Marina Mist(126962); Pear Pizzazz(131180); VerseMark(102283)
Stamps: En Francais(128562); Pleasant Poppies(132061)
Other: Stampin' Embossing Powder White(109132); Embossing Buddy(103083); Heat Tool(129053)

Thursday, March 20, 2014

March Scrapbook layout

This is actually working.  In January I challenged myself to complete a 2-page layout each month using a different Designer Series Paper pack.  So far I'm sticking with it.  So here is the March layout we will be doing next week for my Scrap Club.

LOVE THESE COLORS TOGETHER!

Stampin Up products used:
Paper: Basic Black Cardstock (121045); Whisper White Cardstock (100730); Eastern Elegance DSP(130131)
Tools: 1 3/8" Circle Punch (119860)
Misc. Whisper White Baker's Twine (124262)

Beautifully Baroque

There are often times when my creative juices are just about dried up and I struggle to come up with a simple card.  When this happens I like to stroll the internet looking for inspiration.  While strolling today I came upon a card sketch blog called CAS(E) this Sketch!  VOILA!!  I found my inspiration!  You can find the sketch challenge at CAS(E) this Sketch #69


Not only did I find the inspiration I was looking for but I also found a nice way to use a stamp I've been wanting to use for quite some time.  The stamp set is called Beautifully Baroque (#130895).  

Stampin' Up! products used:
Cardstock: Basic Black(121045) and Whisper White(100730)
Stamp Sets: Beautifully Baroque(130895) and Four You(130535)
Ink: Basic Black(126980) and Pear Pizzazz(131180)

Wednesday, March 12, 2014

When in doubt…SMUDGE!


When I was working on this layout for my February Scrapbook Club I couldn’t decide whether I wanted to smudge (ink) all the pieces of paper or not.  It can be very time consuming.  So after much contemplating, I said to myself, “Self, when in doubt…SMUDGE!!”  After it was all said and done, I realized I made the right choice.  Smudging made it look just the way I wanted it to.  Yes, it took a little while to complete but was so worth the time and effort.    Sometimes when a project needs just a little “oomph”, smudging is the way to go. 

How about you?  Are you a smudge-aholic like me?


The circle under the word "Priceless" was made by using several drops of Tangerine Tango Re-inker diluted with water.  Then use an Aqua Painter dipped in the re-inker mixture and  "paint" a piece of Silver Glimmer Paper.  After using a heat tool to dry it, run it through the Big Shot with a Circle Framelit.  This picture does not do it justice. 

Stampin' Up! products used:

Paper: Venetian Romance DSP(130144); Silver Glimmer Paper(124005)
Cardstock:  Pistachio Pudding(131294); Soft Suede (115318); Island Indigo (122923); Very Vanilla(101650)
Stamps: Gorgeous Grunge(130514)
Ink: Soft Suede (126978)
Big Shot: Circles Framelits (130911)
Embellishments: Rhinestones Basic Jewels (119246)